How to attach a Burley Piccolo to a Yuba Mundo

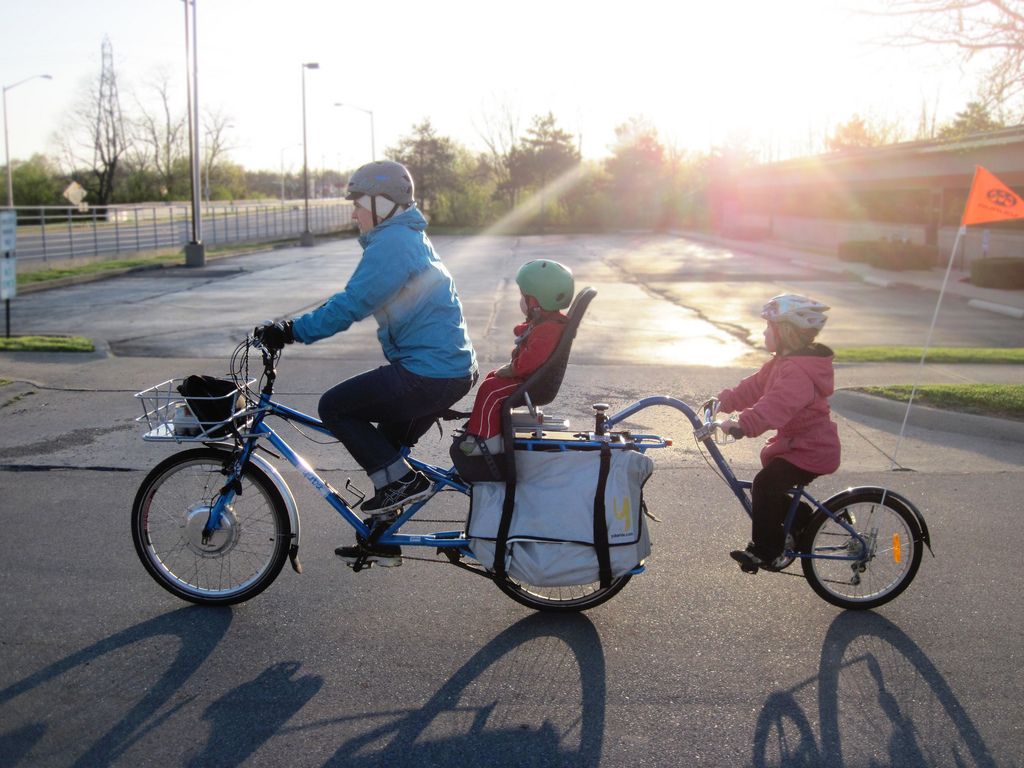
The Yuba Mundo is a great bike for carrying young children, and the Burley Piccolo is a great way to extend a bike so that child from ages 4 to 10 can help pedal.
With our Burley Piccolo, our older child is happier riding than sitting, as parents we get some extra help pedaling. It’s a win-win. Unfortunately, there’s no official way to connect the two items right now, although Yuba has hinted at official accessory for this in the future.
Here’s how we made our own attachment for the Burley Piccolo and the Yuba Mundo. It’s been working really well for us.
Our approach was to start the official Burley rack that comes with the Piccolo. Next, we cut out the attachment point and just enough of the rack to fit perfectly into to the top of the Yuba Mundo rack. Finally, the piece was welded directly into the frame.
Here’s the cut-out attachment point, before being welded in. The exact size will depended on which version of Mundo you have. Make sure you have enough room on one side to use the “thumb lock”.

The Burley Piccolo attachment is designed to be placed over the rear axle for best handling. In this arrangement, it’s a bit to the rear of the axle, which works fine. I would not put it all the way to the rear of the Mundo rack. Handling would be worse, with no upsides.
I used a hacksaw to do the cutting. With the rack overlayed upside down on the back of the Yuba, I gently cut some lines through the paint of the Burley rack to mark where the cuts needed to be. Be conservative which how much rack remains. I cut mine to the center of cross-beams we would be welding to, instead of edges. The welder would use a grinder to quickly shave off a bit of the ends to achieve a perfect fit.
Next, get ready to weld!

You’ll need to strip all the accessories off the back of the Mundo before welding. You’ll see that we left on the back tire and the fender. The welder used something to protect the fender from the sparks. Looks like in the photo he shoved a nearby pie tin in there.
Although it’s not visible in the photos, the welder also added some beads to the ends of the remaining crossbar on the Burley rack itself. This gives some extra strength to the joints.
As you prepare to re-assemble the bike, you’ll note that having a full-length top deck no longer makes sense. You can see in the first photo that I cut off the end up of it, eyeballing it using a utility knife.
The welder worked the top rack on his grinding wheel for just a few seconds, which created nice rounded corners on the remaining top rack. You can see rounded corners here:

Here’s a close-up of the weld:

From there, it’s time to re-assemble and ride away!
Some advantages of this design
Welding it means it’s totally solid, forever. With the official rack, even if your connection with the rack is solid, the rack itself still connected to the bike at three points, and each of those points is a potential location for things to come loose. The same is true DIY XtraCycle/FlightDeck solution I use, which I’ll blog about later. With this solution, there’s zero wiggle in the attachment, and no chance of it coming loose while you are riding.
Full use of your rack. Like the official Burley rack, the connection point is recessed, so the top of the Mundo rack remains flat, so you can use it for other purposes. You could even put a full-length top deck back up there if you quit using the Piccolo attachment (or sold it to someone who did). The Burley rack appears to be of primarily hollow Cromoly, so it adds very little to the weight of your bike.
Due to the combination of these benefits I prefer the Mundo+Piccolo combination over the Xtracycle+Piccolo combination which our family our also has. A recessed, welded design is not possible for the Xtracycle, without fabricating your own entire Xtracycle rack.
How much does the little stoker actually contribute?
Our five year old contributes a surprising amount. I would estimate she approximately “pulls her own weight”, sometimes more, sometimes less. While our Yuba usually has electric assist on it, for some reason a few weeks ago I got the inclination to remove it and then go cargo bike camping with both kids…. I rode out close to the site close to 10 miles with my daughter and a full load of gear. That worked OK and was enjoyable, but slow, and some of the hills left me doubting my judgment. I revised the plan add a 30 pound child with a 15 pound seat to the mix. When the younger child was dropped off with car set, I exchanged him for all the gear, so we round back in the morning fairly “empty” except for the three of us. That was fairly manageable, although it still had a noticeable “fitness benefit”.

A family success
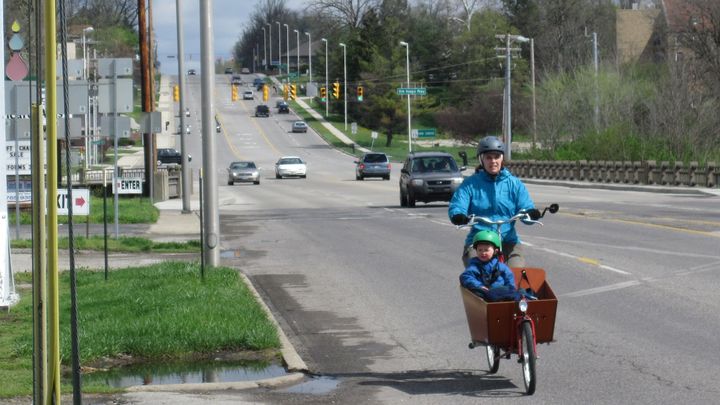
My wife and kids all three love this solution for moving them around. The bakfiets worked well this winter to keep both kids warm and dry for school drop-off, but my 5 year old daughter is getting too tall to fit underneath the weather canopy, so perhaps next fall we’ll be using this instead.
Here are some more photos of our “Yuba Train” in action:


You can also see our full photo set of Yuba Train photos on Flickr, or view them all as a slideshow.
Or if you'd like to compare how to attach a Piccolo to a Surly Big Dummy, I have a post about attaching a Piccolo to a Big Dummy too!
Questions? Ask below!


Comments ()